We are now going to cross into the world of interestingly unusual assignments. Some will use things you have already learned and many others will cross into new territories. I am still open to students bringing in unusual assignments (Wowies) or to ask to try unusual things.
| 1. Type is an integral part of the work done by the graphic artist. there are several sets of fonts available to you in the program available to us. In addition, there are many different kinds of fonts available to the artist. Some can be purchased on disk or downloaded off the internet. (This cannot be done at school.) There are artists who specialize in the creation of fonts. | |
| Watch the demonstration of Text creation before you begin your work. The creation of text was previously rather difficult and new additions to the program have been helpful to making the process so much easier for students--and their teacher.....:) | |
| To do this, you will need to go to the text tool (the capital T) on the left bar of the work area. Find an area of your screen and create a text box. Choose a size for our letters and a style for your word--your name. The default settings for size are up to 72 point but you may type in a size. (If you choose a size that is too large, the word will not show up in the box.) Type in your word. After you have created the word, save. Call this First text 1. | |
| 2. Create a set of 10 examples of your name done in the various fonts. You may vary the size and color and style of your examples. Try to get them on one to two pages. Call it TEXT SAMPLES |
3.After you have created your samples, we will now go to the layers palette on the lower right corner of your work space. Every example of your name is on a separate layer. You will now turn on a layer--have the eye turned on and have the blue bar turned on for the layer with which you wish to work. Do not highlight or select the word. Now, go to the fx tool at the bottom of the layer palette and click on it. You will get a list of possible text effects. Click on one of these and you will get a dialogue box which will include various settings of your chosen effect. Feel free to slide the bars as you like. Call this one--Effect 1.
4.Then, go to another word of your choice. This time, choose another effect and make some changes based on your own preferences. You will notice that when youhave the dialogue box open, you will also note that there is a list of choices. Staying with that same word, choose another type of effect. A new dialogue box will appear. Do the slide bar and make changes as you wish. Call this EFFECT 2.
5. Do the same thing as above and add as many changes as you wish. Call this EFFECT 3.
6. Take your list of 10 words and use the fx tool to make changes as you desire to get some really interesting text samples. Call this text samples 2.
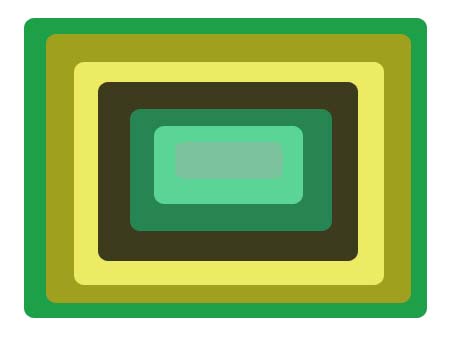
| Create a set of background designs by using the elipse tool. You will need to stack several shapes on top of one another. This could result in a set of concentric circles or concentric rectangles (If there is such a thing-). Note the example below: |
7. Open a picture of your choice--yourself, a place, the mural, etc. Then, using the filters, create a set of 36 different versions of that same picture. Put six pictures on a page and call them filters 1, filters 2, filters 3, filters 4, filters 5, filters 6
Do NOT use photos of another student, teacher, or staff member of the school for this assignment. You may use your photo or the photo of a prominet actor, athletic personality or political personality for the photo choice. Other objects--just make sure it is appropriate.
| 8. Create a set of background designs by using the elipse tool. You will need to stack several shapes on top of one another. This could result in a set of concentric circles or concentric rectangles (If there is such a thing-). Note the example below: |
Then take that picture and use the filter tools to liquify the picture similar to this example:
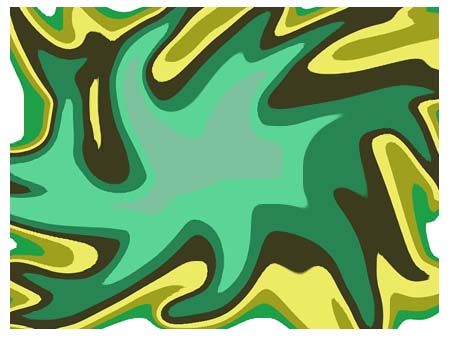
Call this liquified background.
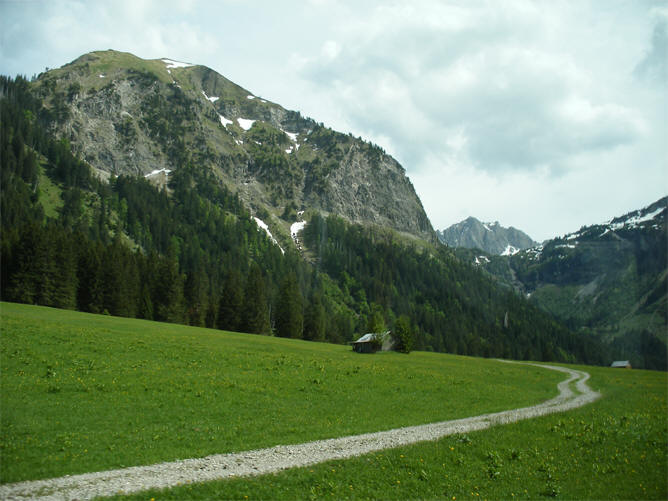 Original
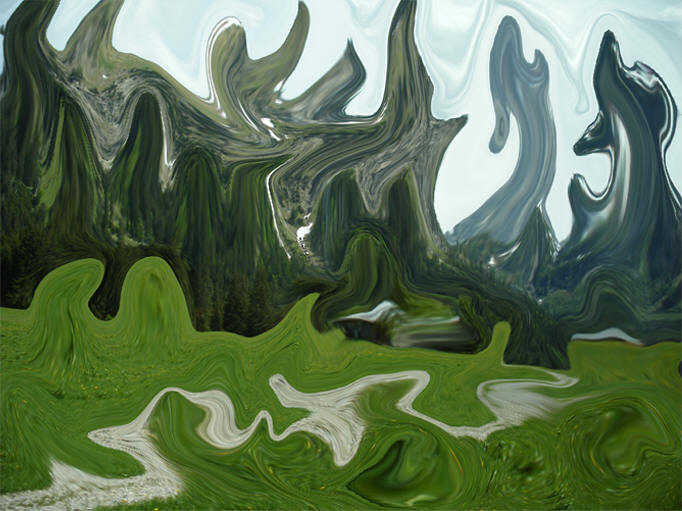 Same place after the
work is liquified--
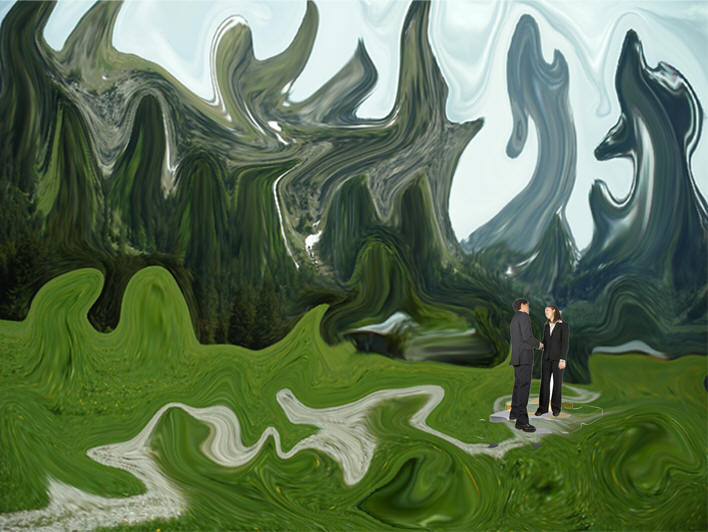 Go to filters and then to liquify.Then
insert your own picture into this location.
9. You will next create a surrealistic landscape background. Go to google or elsewhere and find a picture of a landscape with many elements such as hill, trees, cacti, clouds, etc. Take a picture of yourself in an interesting pose and place yourself into your liquified background. Don't necessarily limit yourself to one picture of yourself in the picture. It may be needed to have you cut your picture in layers to place yourself in the photo. For example---
Manipulate the images, add items and then place yourself in the image. For instance, the liquified image above could be an interesting setting for someone stuck in the mud--green, yucky, slimy mud. This will be a collage of sorts. Call this Muddy Collage. Some examples of manipulation of images may be to click on the channels palette. By doing this you could have on layer in shades of red, another in shades of yellow and another in blue and possibly another in black and white.Call this Hello Dali.
| 10.Yellow Car In this assignment, I would like for you to create a picture of you sitting in the car of your dreams. YOu will need to first choose a car picture. Then we will take a picture of you sitting as you would sit in that car. You will then need to dissect the car in such a way that we can place you in that car. We will have lessons on that topic. Call the assignment Yellow car. | |
| 11.Dream Vacation I would like for you to create a picture in which you are at a dream location. Bring in objects that suggest you are there such as your car on a beach. Call the assignment Dream Vacation. | |
I picked this next one up off the ESSDAK website. Try this out. Call your results ESSDAK 1 and ESSDAK 2. Your choice of product.
Go to this web address and try Odosketch out. http://www.tammyworcester.com/TipOfWeek/TammyWTechTipOfWeek/Entries/2010/1/5_Tip_79_-_Odosketch.html